


Similar Materials
Removing background in PhotoScape
Removing background in PhotoScape
12

PhotoScape is a fit substitution to Photoshop in lots of ways, however quite often you need to find an alternative method to perform even the basic operation. In this article I will tell how to remove background of a photo in PhotoScape graphical editor.
Cropping routine is a good way to remove background in PhotoScape. Nevertheless, if you use this technic, you will be capable to save just vital photo elements, having no background at all. Further I will provide the detailed procedure how to crop a photo and, in such a way, to remove the background:
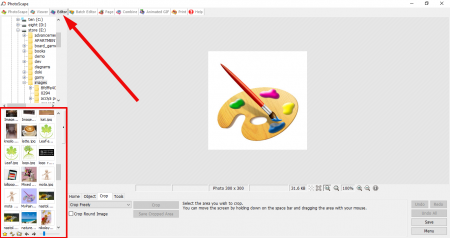
- open the Editor tab in the PhotoScape multi-tab interface
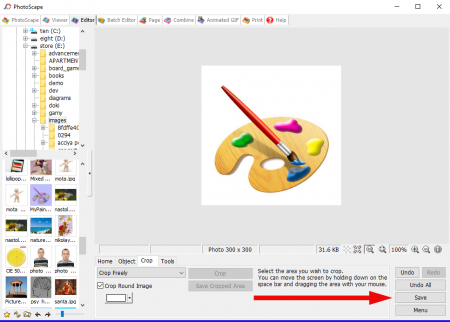
- select the image that you would like to work on in the graphical editor. For this make a left click on the appropriate picture in the list on the left. The image will be opened in the main form
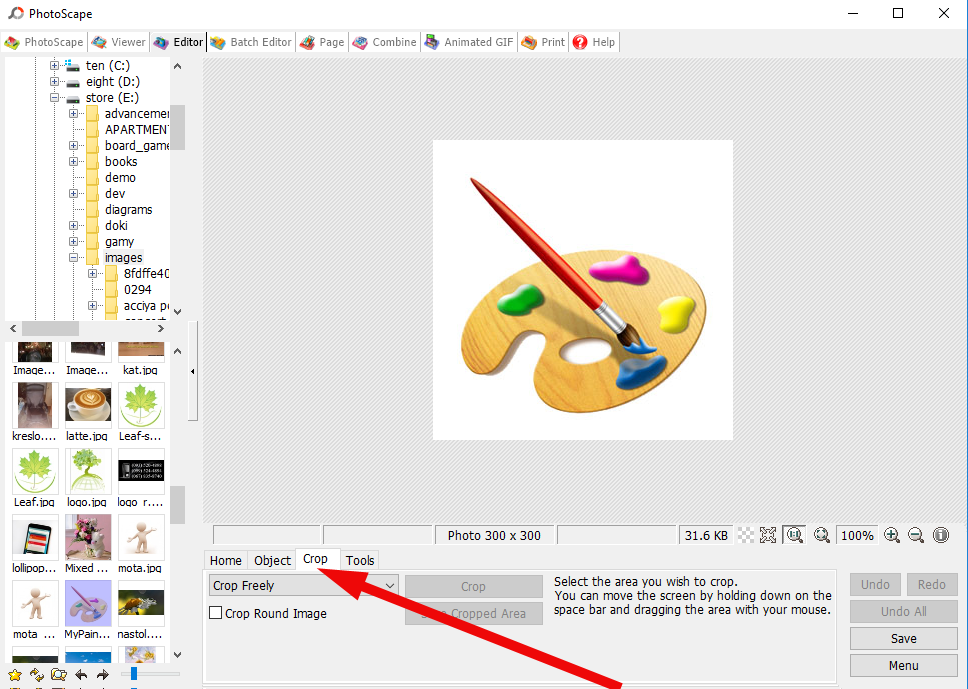
- open the Crop tab in the lower panel on the bottom part of the screen

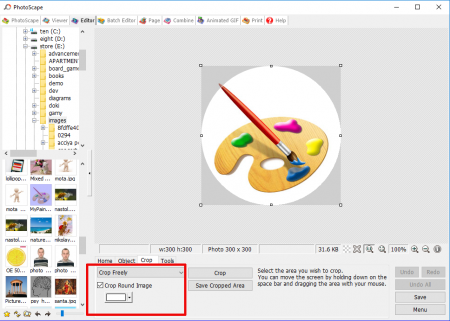
- choose “Crop freely” and, if you desire, mark the “Crop Round Image” option. Drag the mouse with left button clicked and stretch the area which you would like to leave after cropping
- press the Crop button and apply the cropping procedure
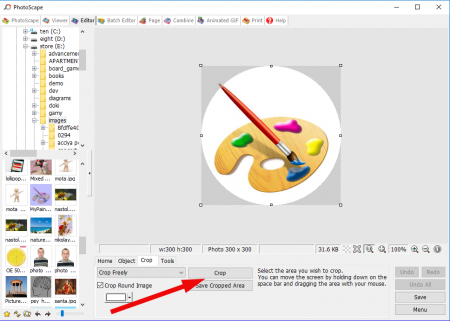
- save the result of your work with external name by clicking the appropriate button.
As you see, the procedure how to remove background in PhotoScape via cropping is quite simple, all you need to do - is select the area for cropping and stretch it in order to get the best result. The rest of it is pure magic.